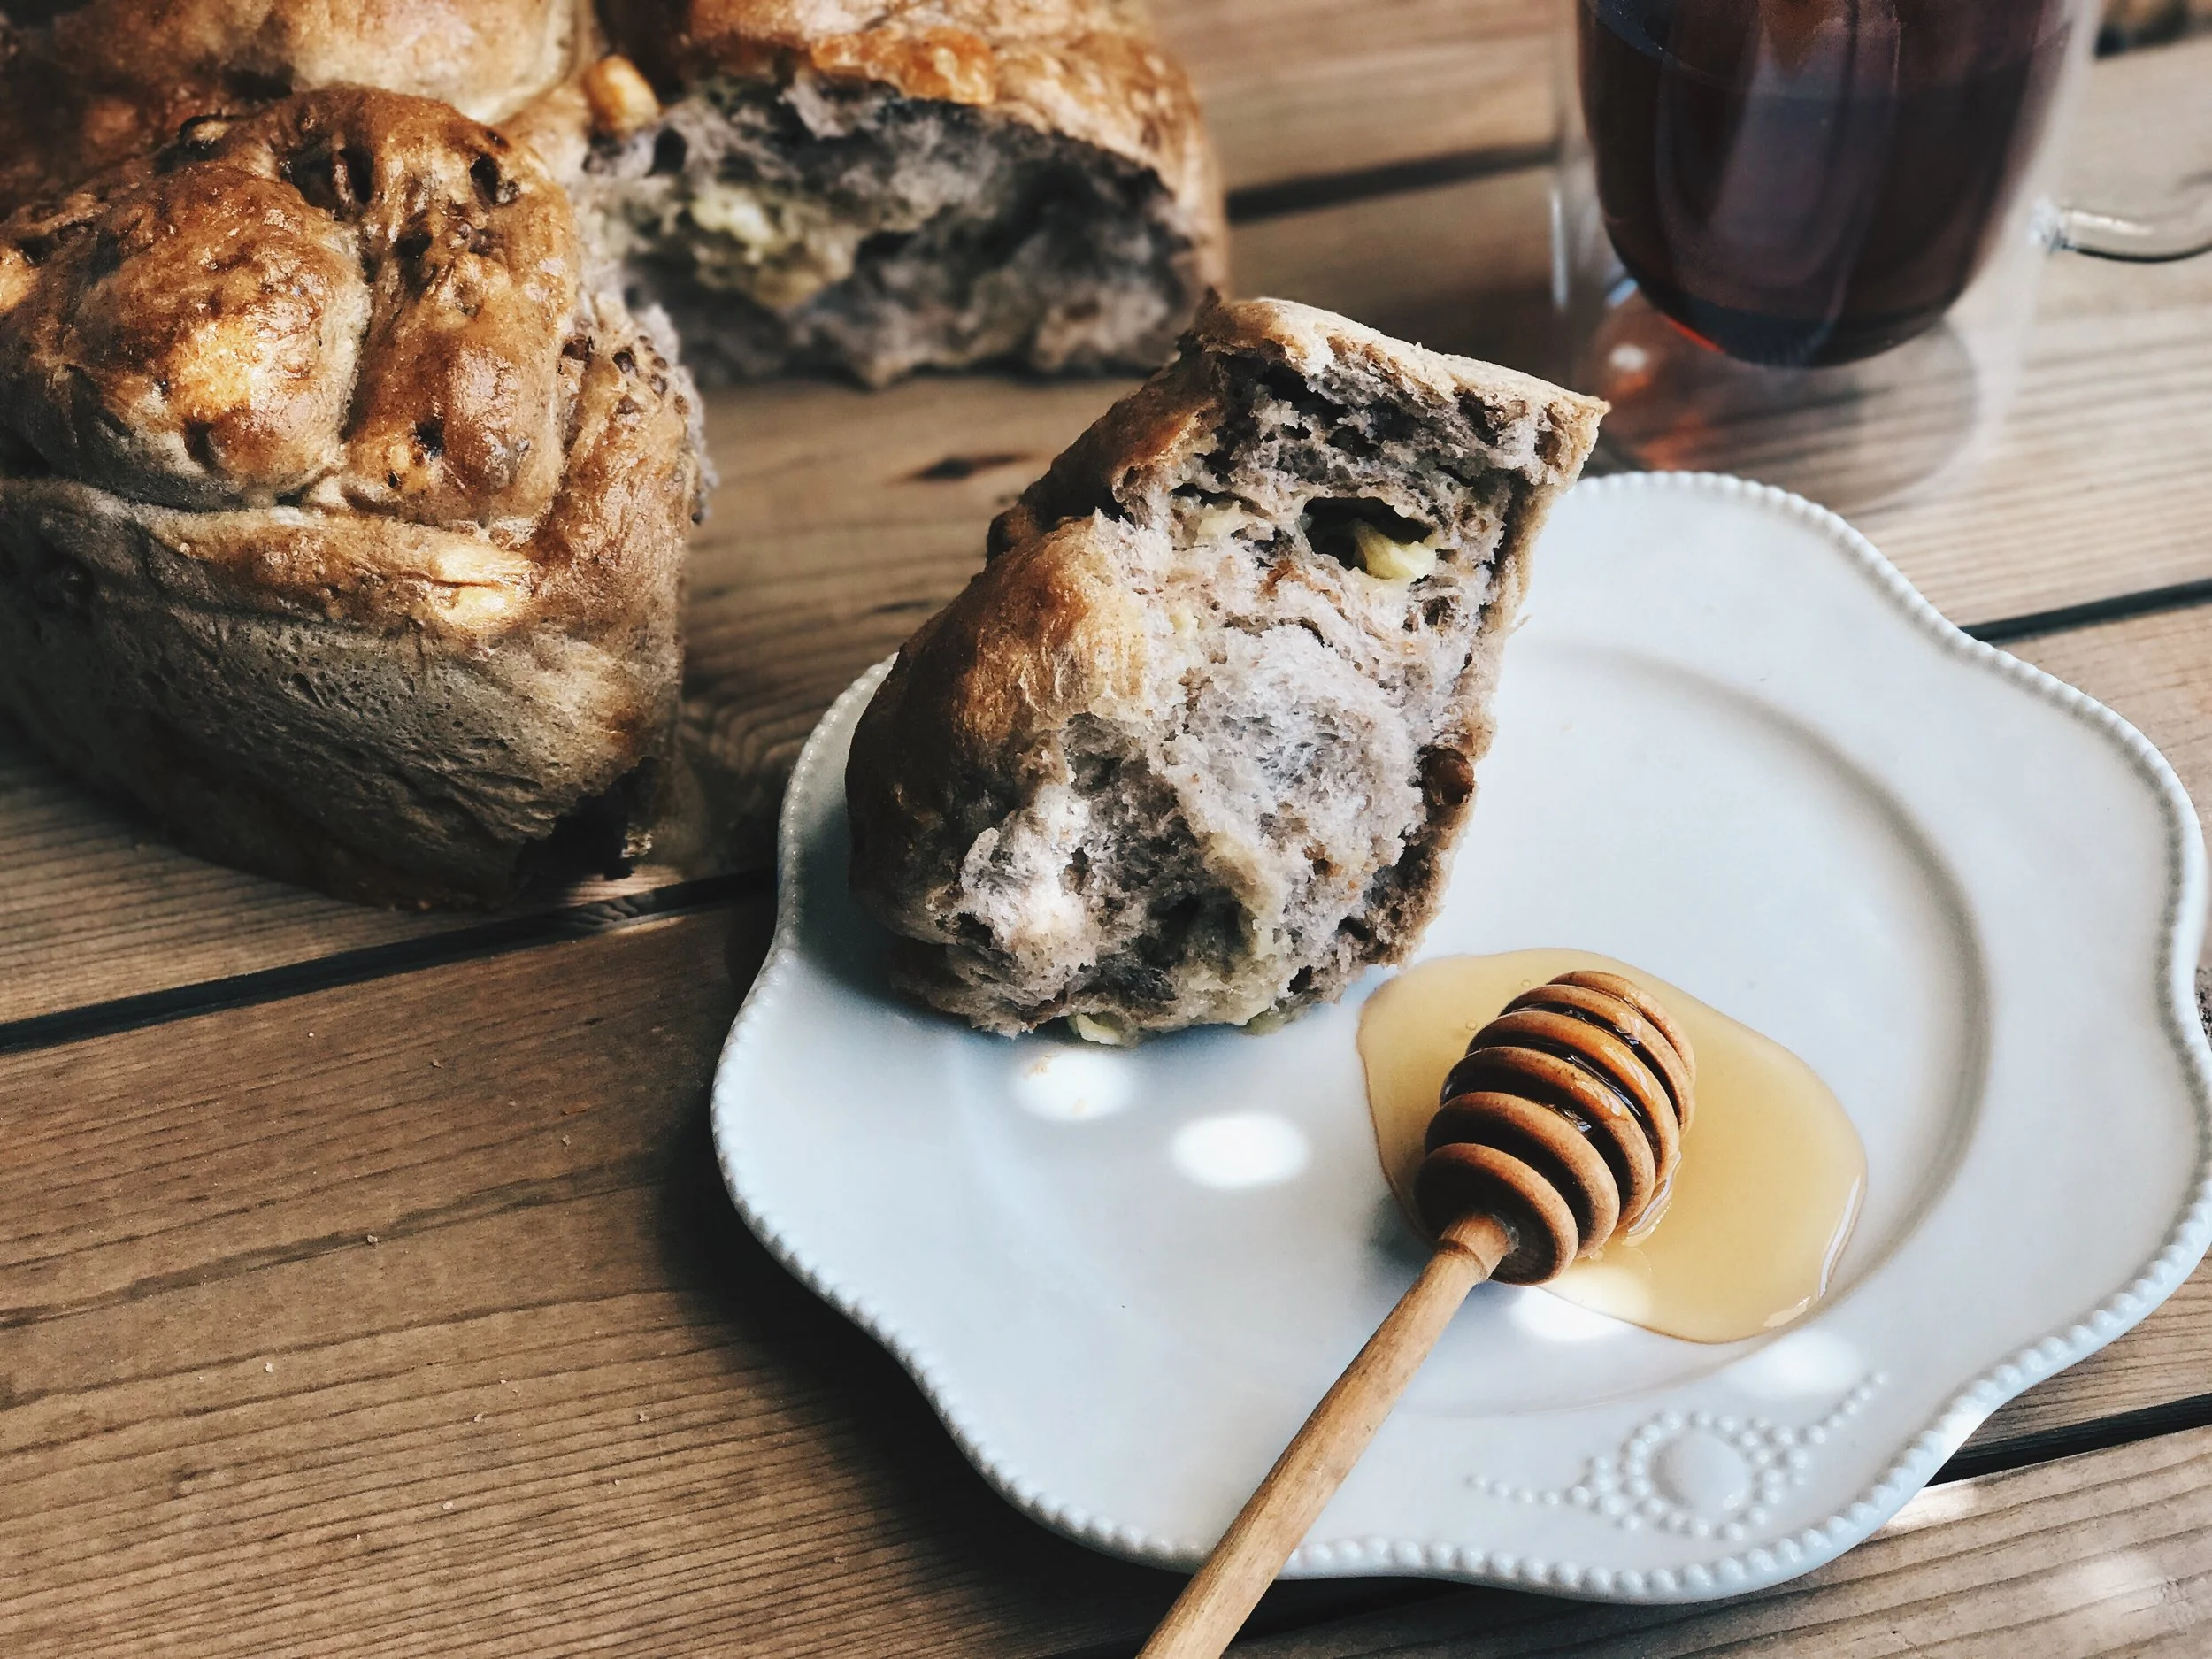
Rugbrød: Danish Rye and Seeded Bread


The Danes are quite known for their rye bread... it's dense, highly nutritional and will most likely leave you with a full stomach for hours to come. I was daunted by the task of making this bread, since the traditional recipe always requires a lot of time for fermentation for the sourdough starter. Upon my quest to find an easier recipe, I stumbled upon this recipe that literally has you mix everything into a bowl (don't mind if I do) and let it sit for 24-48 hours depending on how sour you like the bread.
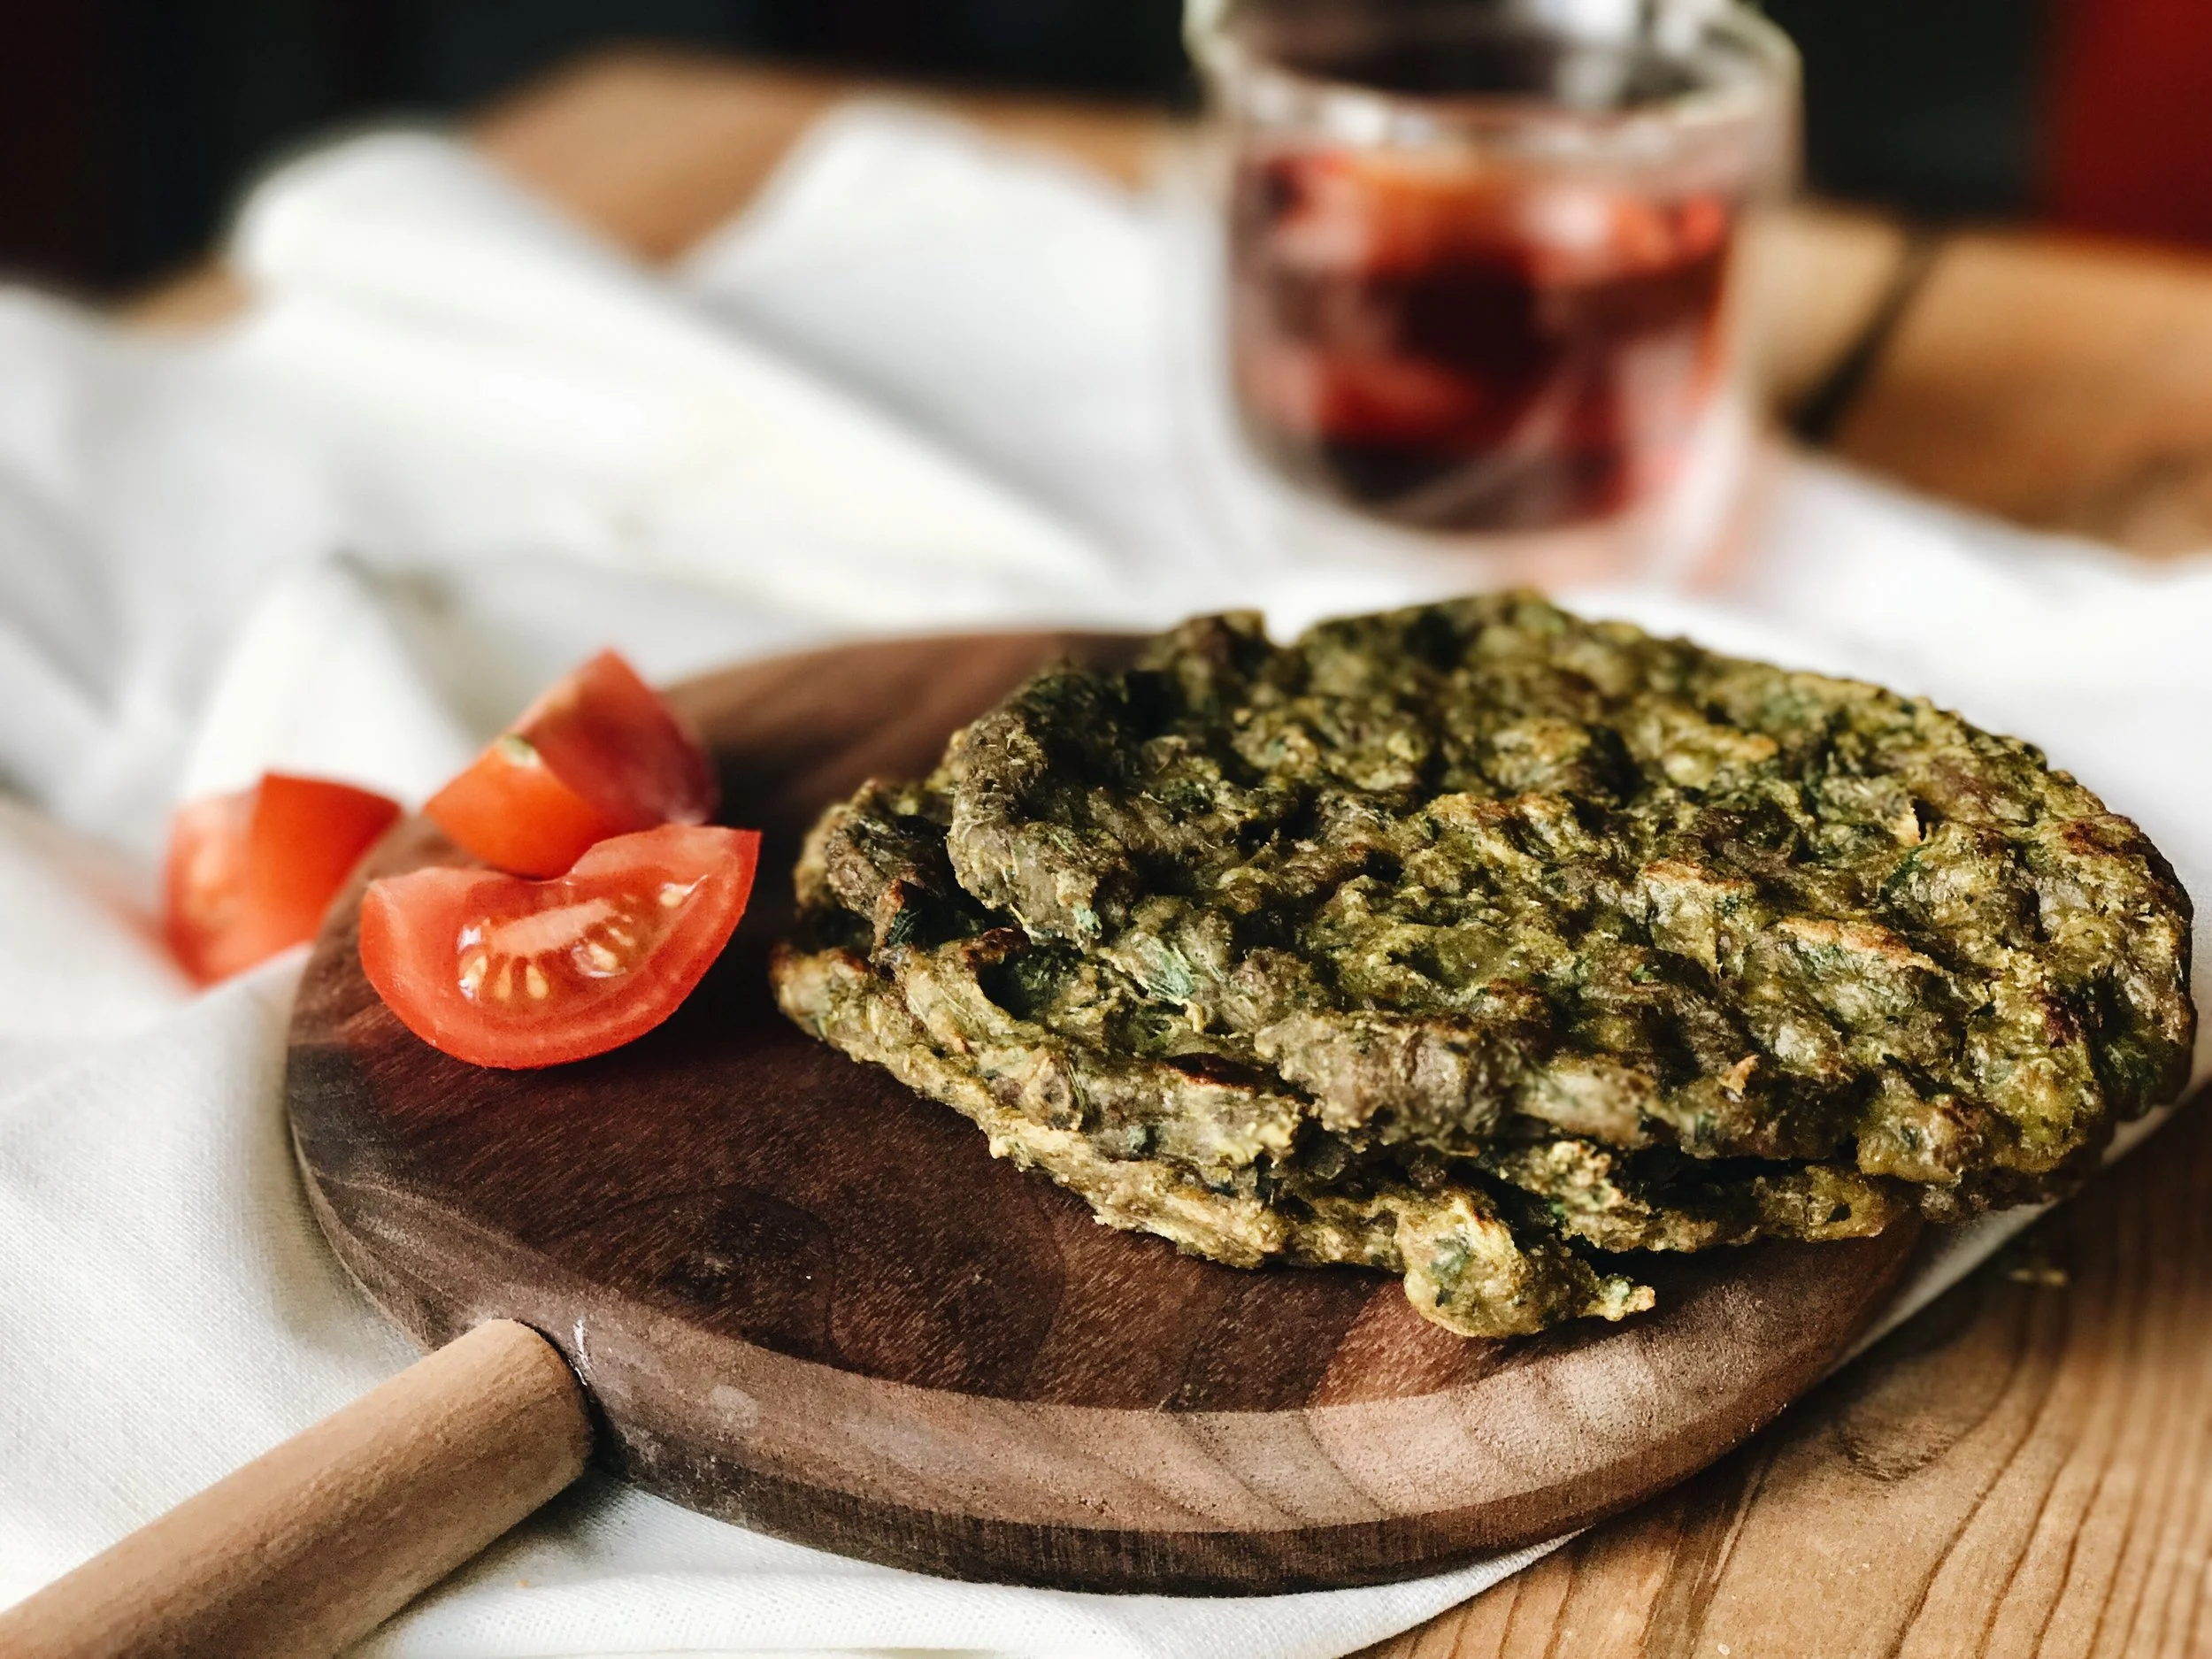
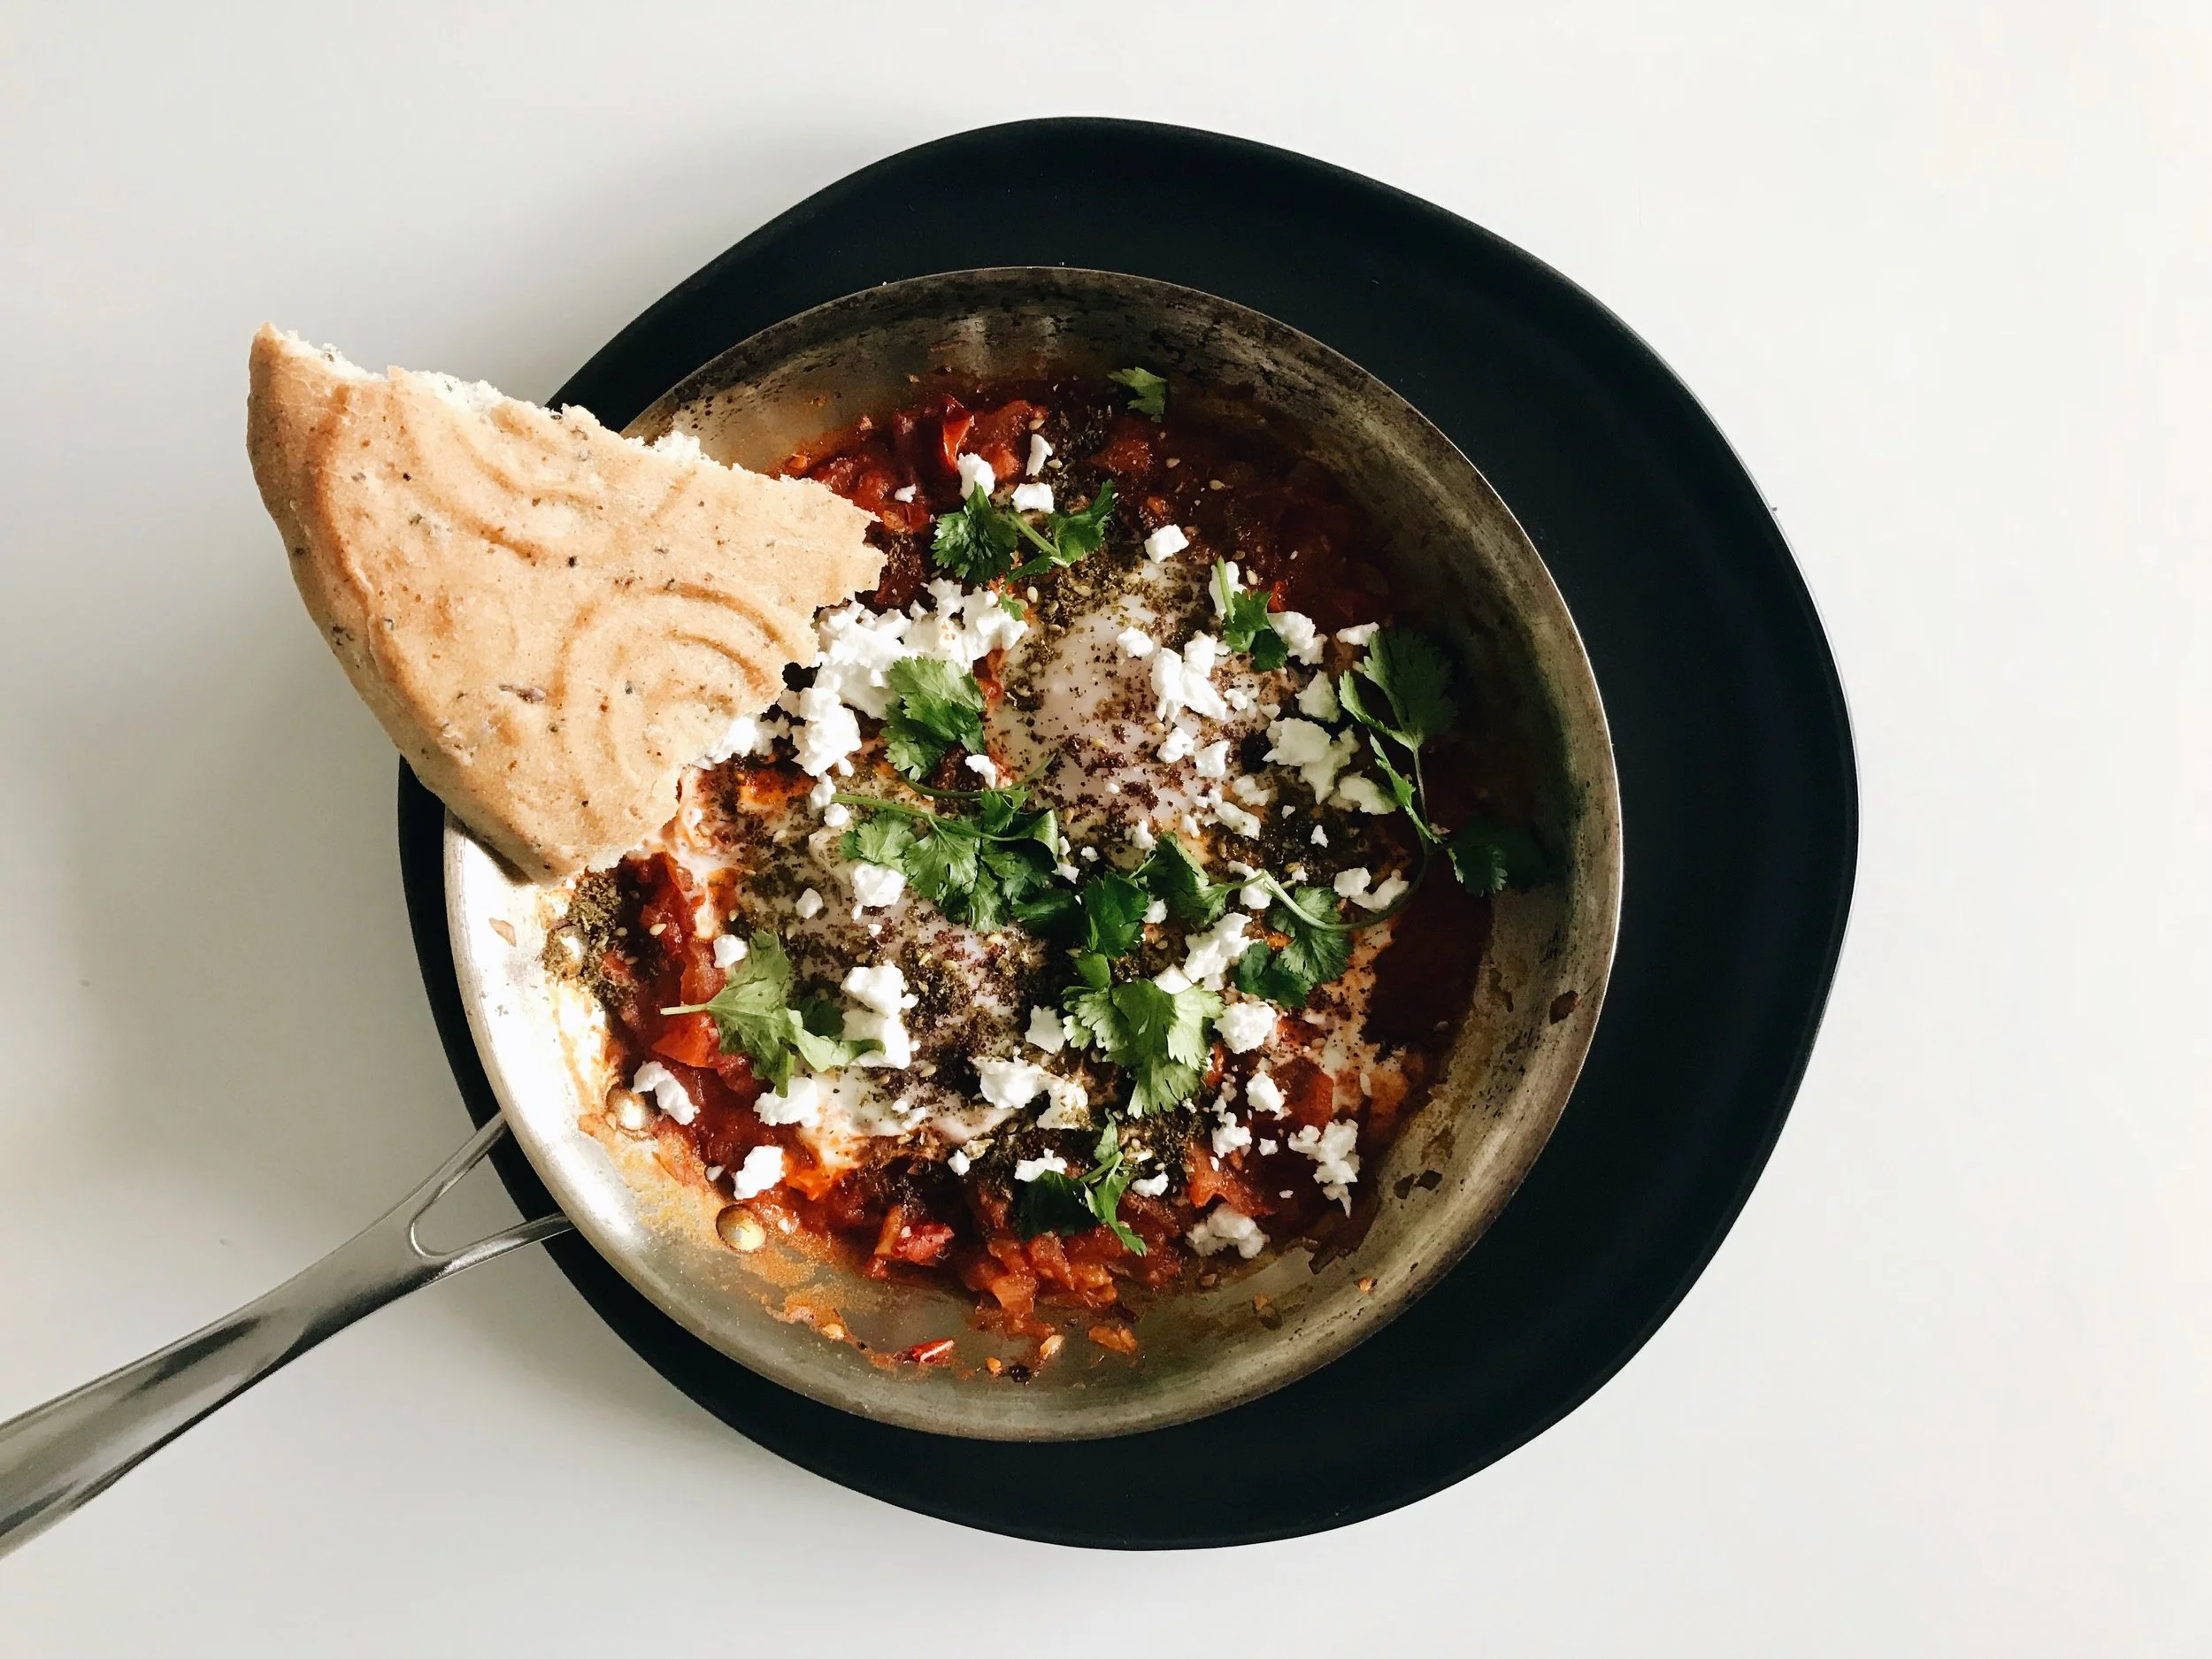
It is very common to come across smørrebrød on most Danish menus, which consists of dark rye bread (rugbrød) and a range of toppings from smoked fish to the uncomplicated butter and jam. Easily, the first slice I had was smothered with butter and honey. However, I decided to try a very Iraqi take on a very Danish dish. When we were kids (four brothers and all), my mother often times wouldn't have time to make an intricate lunch for us so she would make one of our favourites: boiled potatoes, hard-boiled eggs, tomatoes (sadly forgotten this time) and pickled mangoes. This I learned was also her mother's lazy day lunch, and it too was her favourite.
Rugbrød: Danish Dark Rye and Seeded Bread
Adapted from The Daring Gourmet
Ingredients:
2 cups warm (not boiling) water
2 tsp active dry yeast
2 tbsp dark malt syrup or blackstrap molasses
3/4 cups all-purpose flour
1 3/4 cups cracked wheat
1/2 cups whole rye berries
1 1/4 cup whole flaxseed
1 cup sunflower seeds (raw)
1/3 cup pumpkin seeds (raw)
3 tsp salt
2 cups plain kefir (can substitute with almond milk mixed with apple cider vinegar if vegan)
handful of rolled oats for sprinkling
Directions:
1. Proof your yeast by stirring warm water and molasses/malt syrup together and then gently stirring in the yeast. Let sit for about 5 minutes, until the yeast has foamed and expanded.
2. Now the fun part... add all the dry ingredients together and mixing so that everything in well combined. Continue by adding kefir and yeast mixture. Using a stand mixer mix and a dough hook, mix to combine. Once combined, on a low setting knead dough for another 10 minutes. This dough will not actually resemble dough (don't panic), it is supposed to be wet and sticky.
3. Transfer dough into a glass or plastic bowl, preferably a bowl much larger than the amount of dough. The dough needs room to expand greatly. Cover with plastic wrap, making sure not to put it on too tight. Leave to rise for AT LEAST 24 hours but up to 48 hours. The difference in time is purely personal taste. If you want your bread more sour, which most recipes tend to prefer, then leave it a full 48 hours. I prefer a more mild taste, so 24 hours satisfies me.
4. Preheat oven to 350F. Using a 9x5x3 loaf pan, line with parchment paper and scoop the dough into the loaf pan. It seems like the dough wont all fit in the pan... and that is somewhat true. I had about one scoop left that I countless possibly fit, but overall you'll get most of it.
5. To get the rolled oats to stick on top of the loaf, brush some water directly onto the dough and then sprinkle the rolled oats.
6. Place loaf on the middle rack and bake for 100-120 minutes, or until the temperature of the inside of the loaf is 205F (use a kitchen thermometer).
7. Once cooked, the loaf will need to sit for a couple minutes before removing it from the loaf pan. Once removed, let it cool completely before slicing. Typically this bread is sliced pretty thin, so using a very sharp bread knife would work best. To store, place in refrigerator or freeze.